The It-Girl Hairstyle That’s Effortless, Elegant and Always On-Point
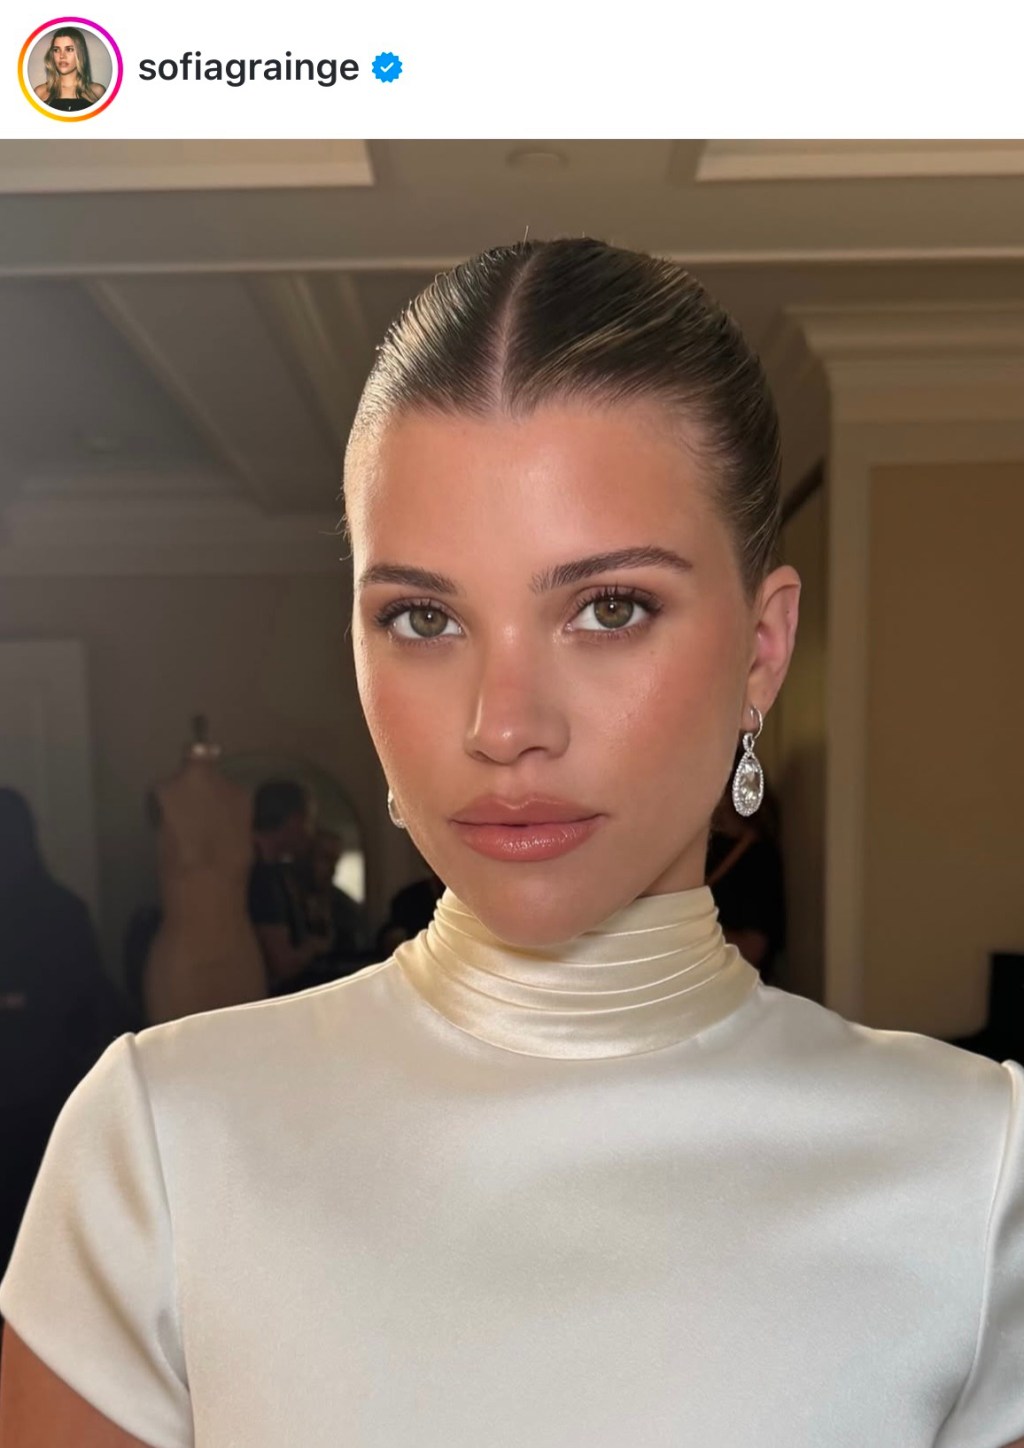
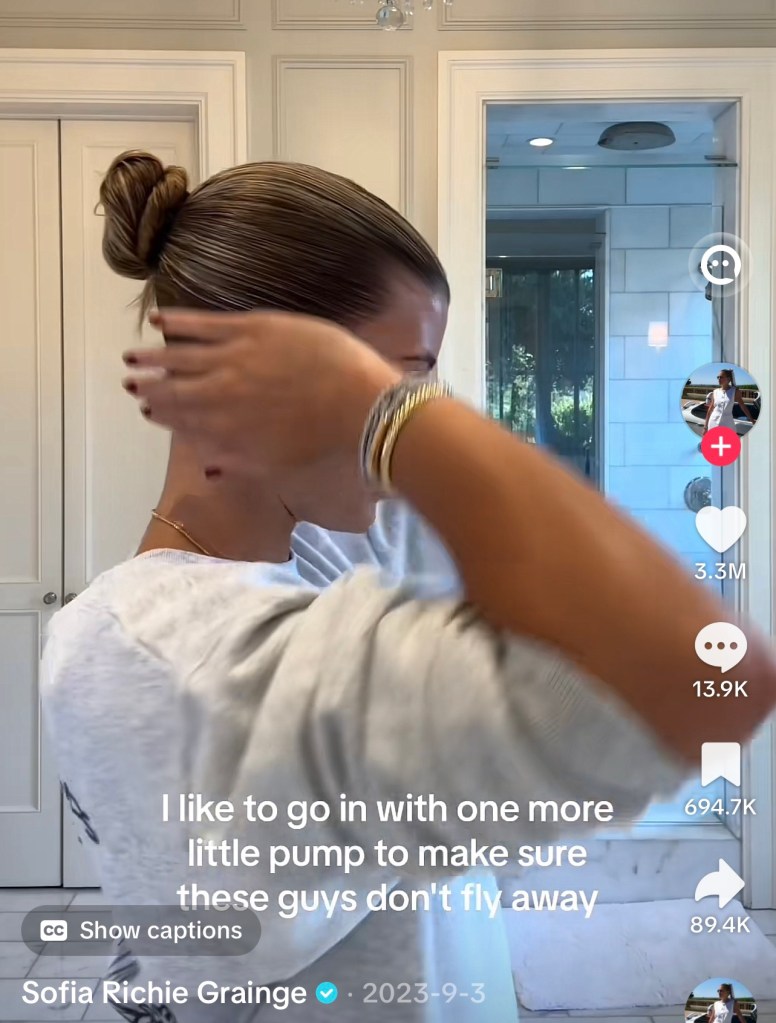
There’s a reason Sofia Richie Grainge’s lazy girl sleek bun has become the reference point for modern elegance. Timeless yet completely current, the look walks the line between off-duty model and polished minimalist. It’s unfussy, neat, and perfectly sculpted, but not overly rigid. And it’s surprisingly achievable from home.
Whether you’re heading to brunch, a black-tie event, or just craving a moment of quiet luxury energy, here’s how to recreate Sofia’s now-iconic slicked-back bun – with the right prep, tools, and styling secrets.
What you will need
To achieve this style you will need 4 hair elastics, a hair mask (optional), hair oil, tail comb and a brush.
Step 1: Start with Freshly Washed and Damp Hair
While second day hair can work great, Sofia styles this look with freshly washed locks. She adds a generous dollop of hair mask and works through the hair so it is treating her hair while it’s in a bun.
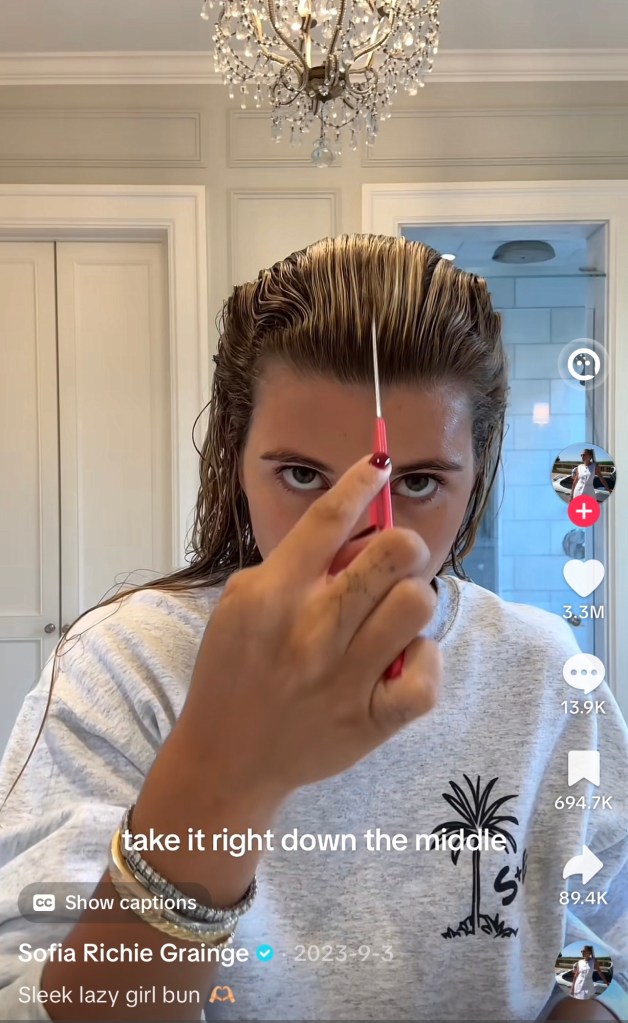
Step 2: Create a Clean Middle Part
Use a tail comb to carve out a precise middle part from your hairline all the way to the crown. This part is key, it’s what gives the bun its clean, sculpted vibe. Make sure both sides are symmetrical before you move on.
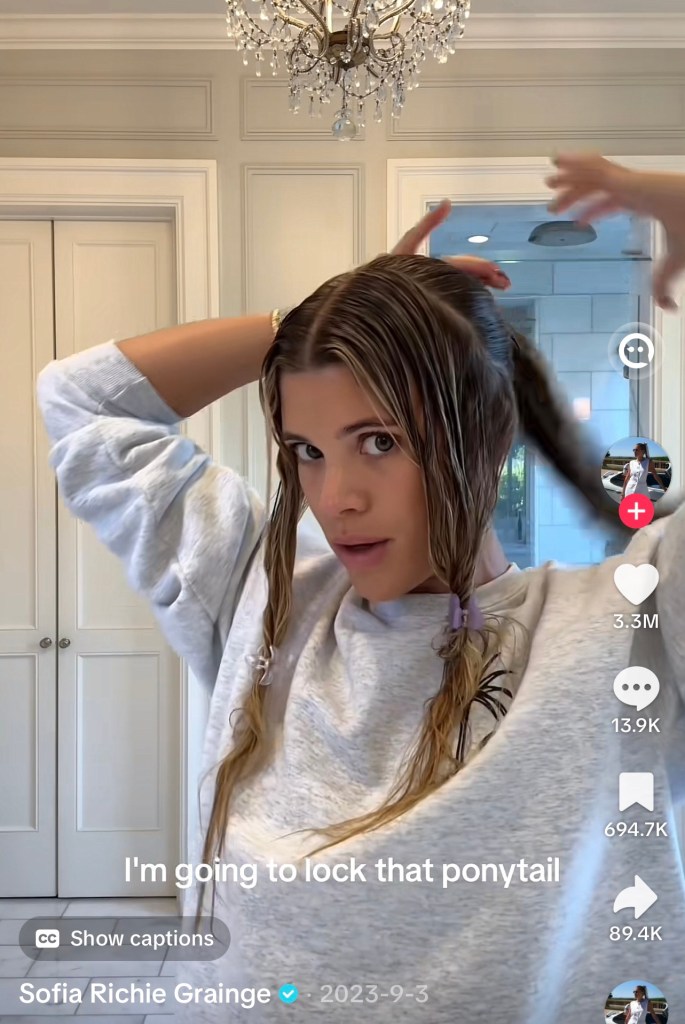
Step 3: Section Your Hair and Smooth with a Bristle Brush
Section you hair into three by taking two sections on each side at the front. Twist those sections to keep them out of the way, and with the remaining third (the whole back area of your hair), use a brush to pull it back into a sleek ponytail.
Then take one section at the front and brush it back, securing it to the main ponytail. Repeat on the other side.
To achieve that refined, brushed-back base, use a boar bristle brush or smoothing brush to pull the hair tight to the scalp. As you brush, apply a lightweight styling balm or hold cream to smooth any frizz and flyaways.
Now that all of your hair is in a ponytail, twist the tail around into a neat bun and secure with another elastic.
Step 4: Twist the Bun
Once the hair is smoothed into place, twist it into a bun and secure it with a snag-free elastic. Wrap it tightly enough to feel secure, but not so tight that it pulls or puckers. Add oil or product to smooth any flyaways.
Tip: Don’t overdo the product. Sofia’s bun always looks intentional, not greasy. Aim for shine, not stiffness.
Optional: If you want that red carpet-level finish, wrap a strand of hair around the base to hide the elastic, or smooth over any unruly sections with a toothbrush and spray.
Step 6: Finish with Polish, Not Crunch
The final step is all about sheen. Mist a shine spray or lightweight hair oil over the bun and the crown for a refined finish. Avoid heavy hairsprays that flake or harden, the goal is glassy and soft, not crunchy.
Bonus: Make It Yours
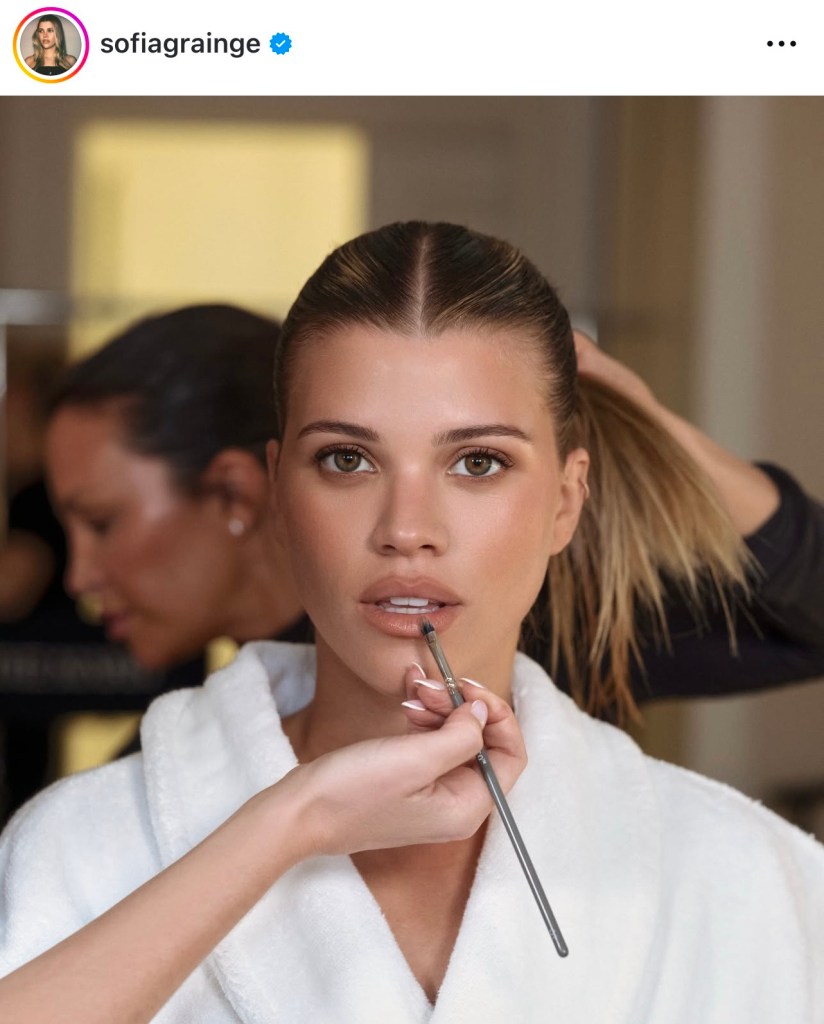
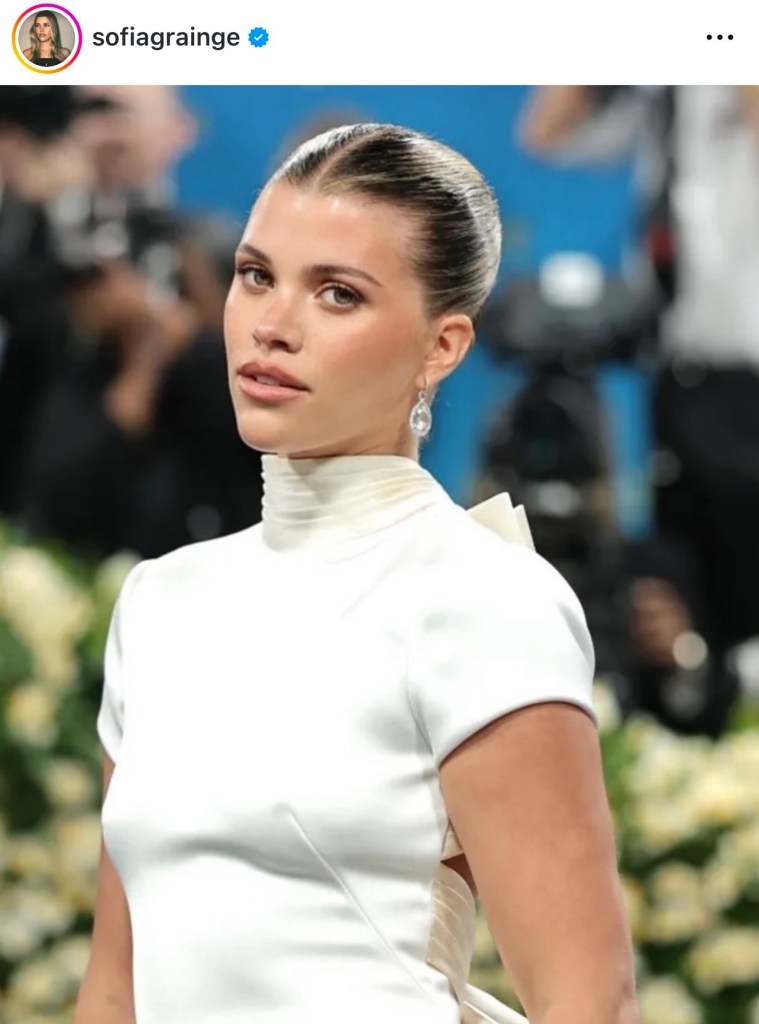
What makes Sofia Richie Grainge’s bun iconic isn’t just the styling—it’s the styling with intention. Pair it with natural brows, a neutral lip, and a touch of bronzer for that signature clean-girl aesthetic. Or go glam with gold jewellery and a satin dress for instant evening sophistication.
The Takeaway
Minimal doesn’t mean boring, and Sofia’s sleek lazy girl bun is proof. It’s a quiet statement of elegance, control, and chic restraint. With a few strategic products and a bit of technique, this red carpet–ready look can become your everyday go-to.
Because sometimes, the simplest styles say the most.

Leave a comment